Want to Create LinkedIn Carousels? Follow These 5 Steps (including some Zapier automation)
Increase your LinkedIn engagement with a visual asset.


I’ve hopped on the LinkedIn carousel bandwagon.
Visual storytelling attracts a different audience than straight text posts. Carousels were once the darling of brands looking to create a more engaging ad. Now, creators and people invested in personal branding (myself included) have turned to carousels as another means of content creation.
I post a variety on LinkedIn — longer text posts, screenshots from Twitter, one-liners, and carousels. I plan out my content in advance, so adding carousels brought a new challenge into the mix.
But I’m always up for a challenge! With a little help from some of my favorite tools (like Canva and Trello), I created a good system for creating, publishing, and keeping track of my LinkedIn carousels.
1. Design a carousel in Canva
Full disclosure: I’m not a design person. And most LinkedIn carousels are visual (other than people who post screenshots of Twitter threads).
Thankfully, I don’t need serious design chops to create a carousel. Canva does this for me. If you haven’t used Canva before, it is an easy — and free — tool for any design needs. (I’ve also created banners, logos, and Instagram posts.)
Canva even has templates for carousels. Find one you like and edit it to fit your needs, matching colors and fonts you’re using on your website or other platforms. Use the same template for future carousels so you have a consistent personal brand.
Once you’re done, save the carousel as a PDF. This is important for how the carousel will appear on LinkedIn. Canva will suggest that you download as a multi-page png file, but don’t do it.
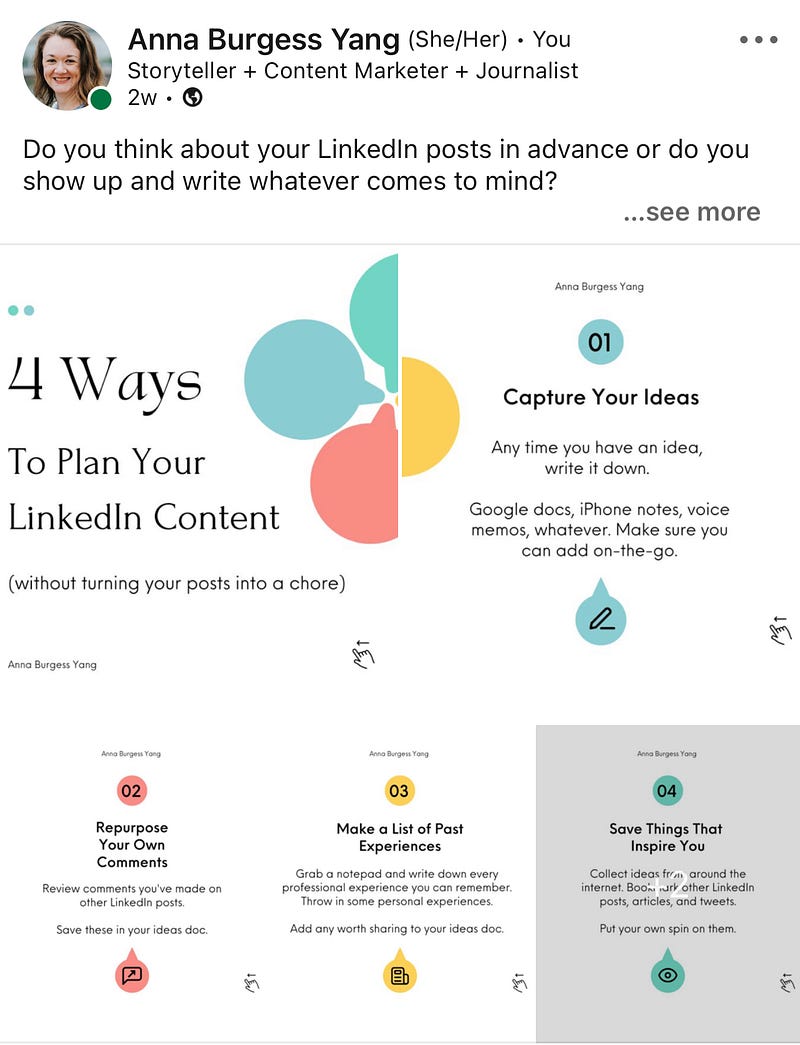
If you download the png file, it will look like this when you add to LinkedIn. Each image will appear separately.
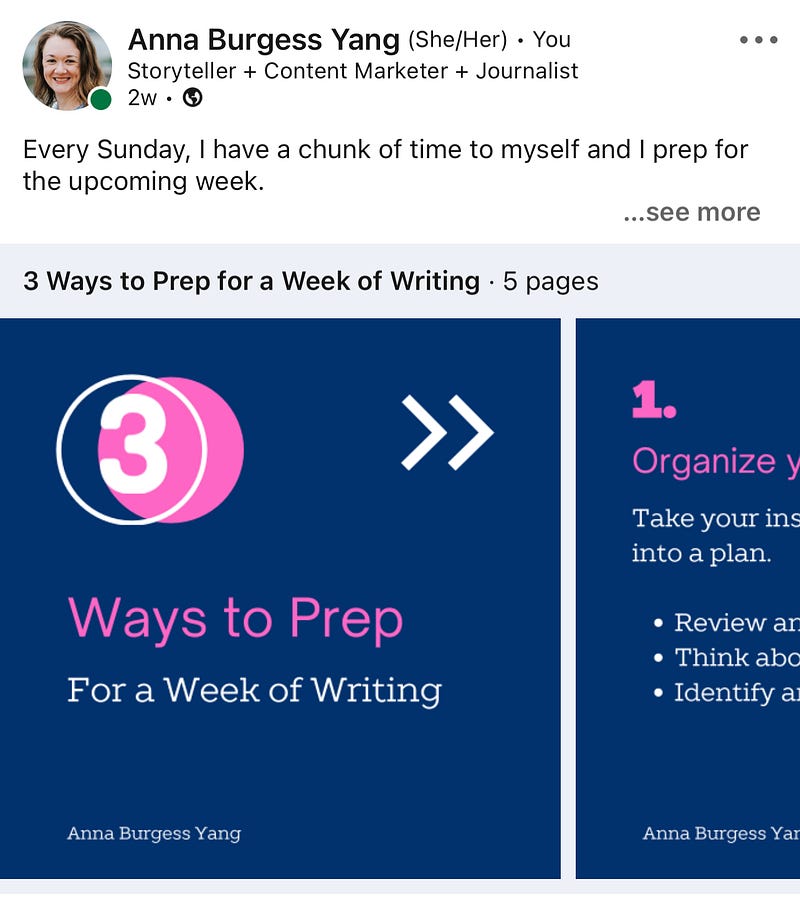
If you download it as a PDF, you’ll get a much better reader experience on LinkedIn. Your audience can scroll through the pages and a title will be displayed.
(And yes, I didn’t follow my own advice. I changed the design of my carousel. I was experimenting.)
2. Save the carousel to Dropbox
Here’s my constant struggle with writing online: remembering if I’ve already talked about a topic.
Yes, the Creators of the World will tell you that it’s ok to resuse content. Heck, I’ve even talked about content repurposing in one of my carousels.
But repurposing should be intentional. Repurpose because you’re adding additional value. Not because you forgot that you’ve already talked about the topic. And while Canva is great for design, it’s not an organizing system.
I need to do two things with my carousel once it’s completed.
- Add it to my content calendar
- Add it to my list of published work
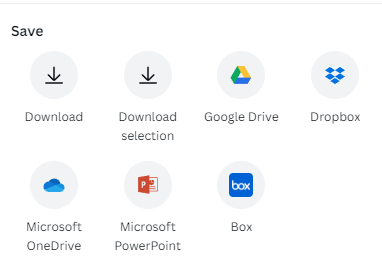
And to make both of those things happen, I use Dropbox. Google Drive would also work. Dropbox is only an intermediary for the next few steps.
You can save your carousel directly to Dropbox from Canva. I have a folder specifically for carousels.
Note: Canva has the ability to publish directly to LinkedIn, but this does not work for carousels right now. You can only share single-image files.
3. Add the carousel to my Trello content calendar
Next, I want to get my carousel onto my content calendar.
My plan is to publish one carousel per week. And I’ve been creating several at a time, so I want to space them out.
I use Trello to plan my content. A Trello card (basically a to-do) tells me when I should publish the LinkedIn carousel around everything else I have planned.
Here’s where the magic happens by saving the carousel to my Dropbox folder.
I use Zapier to automate creating a card in Trello.
- Zapier looks for a new file added to my “Carousels” folder in Dropbox
- Zapier adds a new card in Trello
- Zapier adds labels to the card (LinkedIn, Carousel)
- Zapier adds a Due Date to the card for 1 week from the date added
Voilà — the carousel is now part of my content calendar. Sometimes I end up tweaking the Due Date (the date I will publish), but by adding a default date, I can ensure it’s not overlooked.
This process could be used for many to-do apps (like Todoist, Asana, or even a GSheet) using Zapier.

4. Repurpose the carousel as a Twitter thread
Zapier doesn’t create a single Trello card for me. It creates two.
The second card is to repurpose the carousel as a Twitter thread in the future.
I’m a big fan of content repurposing. If you’re an active writer and have a social media presence, why not re-use work across multiple platforms?
When the second card is created via Zapier, the Due Date is kicked out by an additional four weeks. I like to give some space between posting the same content.
I tweak the carousel so that it makes sense as a Twitter thread. But that effort is minimal compared to creating a new thread from scratch. I use Typefully to create and schedule threads.
Hint: I use this process in reverse as well, repurposing some of my Twitter threads as LinkedIn carousels.
5. Log the carousel in Airtable
I keep track of everything I write on the internet (Well, the long stuff anyway. Not every random tweet that comes into my head.)
Part of this is so I can create links to my own content across multiple platforms. Everything I write is categorized, and I filter by category to find related pieces.
I use Airtable [affiliate link] to keep a log of what I’ve written and Zapier to add my LinkedIn carousels. Here’s what it looks like:

When the file is added to Dropbox (back in step 2!), Zapier adds the file name, date, and attachment to Airtable. I only need to add the Topics.
In some cases, my LinkedIn carousels could become longer articles on Medium. So in addition to my meticulous desire to track everything I’ve written, I also have a source of future inspiration.
I’ve seen great engagement on LinkedIn from the carousels I’ve posted so far. Now that I have a process in place to handle the “details,” creating the posts themselves will be much easier.
For tips on planning your time and content across multiple platforms, check out my free eBook.